How to Squat: The Complete Form Guide for All Levels
Published on September 10, 2024
How to Squat: The Complete Form Guide for All Levels
The squat is often called the king of all exercises, and for good reason. It builds your legs, strengthens your core, and translates to real-world strength like nothing else. But here's the thing—most people spend years squatting with suboptimal form before someone finally helps them fix it.
I was one of those people. For my first two years of training, I thought my squats were fine. Then a powerlifter at my gym politely asked if he could offer some tips. Twenty minutes later, I was squatting deeper, with more weight, and zero knee pain. That conversation changed everything.
Why the Squat Matters
Research from the Journal of Strength and Conditioning consistently shows that squats produce superior lower body strength and muscle development compared to machine alternatives. A 2016 study by Schwanbeck et al. found free weight squats activated 43% more muscle than leg presses with similar loads.
But beyond the research, squats teach you how to use your body as a unit. Every rep is a full-body coordination exercise.
The Setup: Before You Even Descend
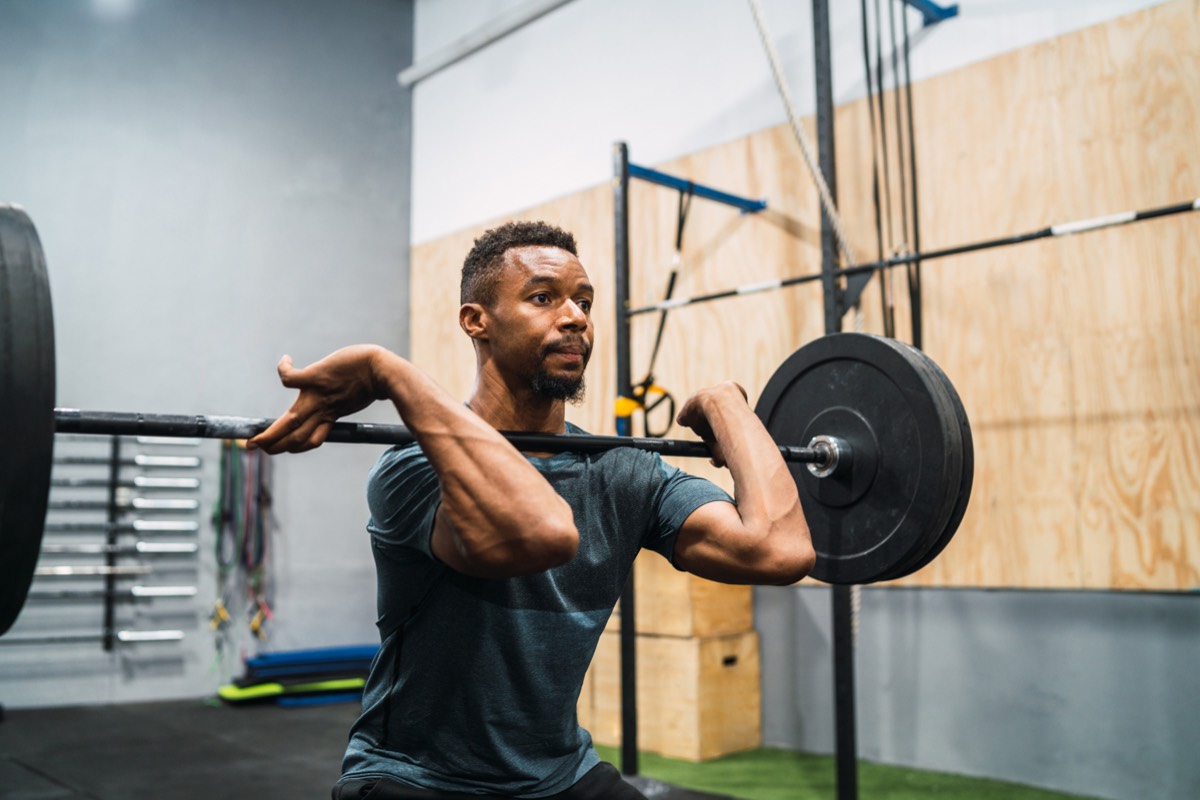
Bar Position
You have two main options:
High Bar (Olympic Style)
- Bar sits on your upper traps
- Torso stays more upright
- Greater quad emphasis
- Requires good ankle mobility
Low Bar (Powerlifting Style)
- Bar sits on your rear delts
- More forward lean
- Greater posterior chain emphasis
- Allows most people to lift more weight
Neither is objectively better. I squat high bar because it feels natural, but many strong squatters prefer low bar.
Hand Position
Grip the bar as narrow as comfortable. This creates a tight shelf of muscle for the bar to rest on. If your shoulders scream, widen your grip gradually.
Unracking
- Step under the bar with both feet even
- Take a breath and brace your core
- Stand up with the bar
- Take 2-3 small steps back—no more
- Set your stance
Stance Width
Most people do well with feet shoulder-width apart or slightly wider, toes pointed out 15-30 degrees. But this varies by anatomy. Someone with long femurs might need a wider stance. Experiment to find what feels powerful.
The Descent: Going Down With Control
Initiate the Movement
Some coaches say "sit back," others say "break at the knees first." The truth? It happens almost simultaneously. Think about sitting down into a chair that's slightly behind you.
Knee Tracking
Your knees should track over your toes—not cave inward. Some outward knee travel is fine and often necessary. The "knees can't pass toes" myth has been debunked repeatedly. Research by Fry et al. (2003) showed restricting forward knee travel actually increases hip stress.
Depth
Aim for at least parallel—where your hip crease drops below the top of your knee. Going deeper is fine if you maintain a neutral spine. "Ass to grass" squats are great if you have the mobility; don't force it if you don't.
Maintaining Tension
- Keep your core braced throughout
- Maintain a proud chest
- Don't let your lower back round (the dreaded "butt wink")
- Control the descent—don't just drop
The Ascent: Standing Back Up
Drive Through Your Feet
Think about pushing the floor away. Your weight should be distributed across your entire foot—not just heels, not just toes.
Keep Your Chest Up
The most common error is letting the chest drop, turning your squat into a good morning. If this happens, the weight might be too heavy, or your upper back might need strengthening.
Squeeze at the Top
Fully extend your hips and knees, squeezing your glutes. Don't hyperextend your lower back.
Common Form Errors and Fixes
Knees Caving In
Cause: Weak glutes, tight adductors, or improper cueing
Fix: Actively push knees out. Use light resistance band above knees during warm-ups. Strengthen glutes with accessory work.
Butt Wink (Lower Back Rounding)
Cause: Tight hamstrings, poor hip mobility, or going too deep for your current mobility
Fix: Stop at the depth where your spine stays neutral. Work on hip mobility separately. Box squats can help develop control.
Forward Lean/Chest Dropping
Cause: Weak upper back, poor ankle mobility, or too much weight
Fix: Strengthen upper back with rows. Try elevating heels slightly (squat shoes or small plates). Reduce weight and rebuild.
Rising on Toes
Cause: Poor ankle mobility or weight distribution issues
Fix: Squat shoes with elevated heels, ankle mobility work, or consciously shift weight back slightly.
Squat Variations for Different Goals
Goblet Squats
Hold a dumbbell or kettlebell at your chest. Excellent for beginners to learn the pattern.
Front Squats
Bar rests on front delts. Forces upright posture, emphasizes quads, transfers well to Olympic lifts.
Pause Squats
Pause for 2-3 seconds at the bottom. Builds strength out of the hole and eliminates any bouncing.
Box Squats
Squat to a box behind you. Great for learning proper depth and developing explosive power.
Bulgarian Split Squats
Single-leg variation. Builds unilateral strength and addresses imbalances.
Programming Your Squats
For Beginners (0-1 year)
Squat 2-3 times per week. Focus on form with moderate weight. 3-4 sets of 5-8 reps works well.
For Intermediates (1-3 years)
Squat 2 times per week. Vary intensity—one heavier day (3-5 reps), one lighter day (6-10 reps).
For Advanced Lifters (3+ years)
Program periodically. Include variations. Consider working with a coach for individualized programming.
Mobility Work for Better Squats
Ankle Mobility
- Wall ankle stretches
- Banded ankle mobilizations
- Calf foam rolling
Hip Mobility
- 90/90 stretches
- Pigeon pose
- Deep squat holds (bodyweight)
Thoracic Extension
- Foam roller extensions
- Cat-cow stretches
- Wall slides
Safety Considerations
Using Safety Bars
Always squat in a rack with properly set safety bars. Set them just below your lowest squat depth. Practice bailing before you need to.
When to Use a Belt
Belts help with heavier loads (typically 80%+ of max). They don't replace core strength—they enhance it by giving your abs something to push against.
Knowing Your Limits
There's a difference between challenging yourself and being reckless. If your form breaks down significantly, the weight is too heavy. Leave 1-2 reps in reserve most of the time.
The Bottom Line
The squat is a skill that takes time to develop. Don't expect perfection immediately. Film your sets, analyze your form, and make small adjustments over time. Most people see dramatic improvements in their squat over their first few years of training—not just in weight, but in how the movement feels.
Every rep is an opportunity to practice. Approach squats with patience and intentionality, and they'll reward you with a foundation of strength that transfers to everything else you do in the gym and in life.
Frequently Asked Questions
Should my knees go past my toes when squatting?
How deep should I squat?
High bar or low bar squat—which is better?
Medical Disclaimer
This content is for informational purposes only. Always consult a healthcare professional before starting any new exercise program.
Related Articles

Put This Knowledge Into Action
Download Axon and get personalized workout plans that incorporate these training principles, tailored to your goals.
Download on App Store